 Pin It
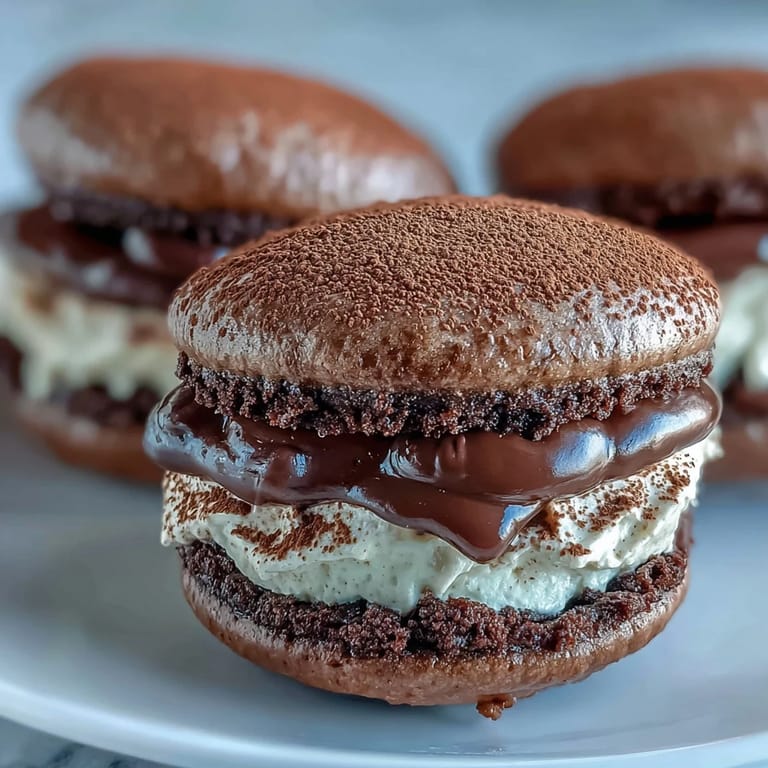
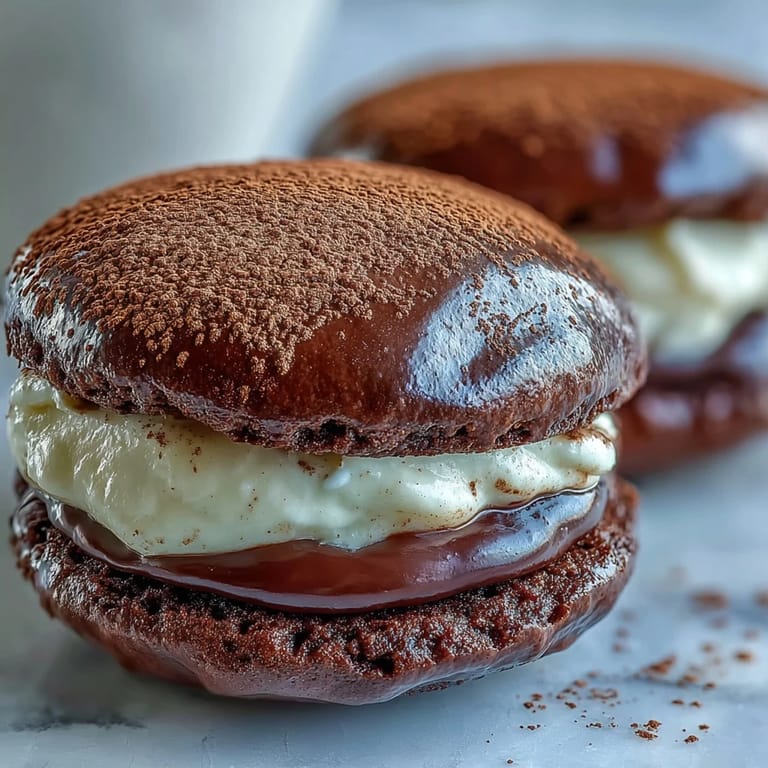
 My neighbor brought these to a summer potluck, and I nearly dropped my plate when I tasted one. They looked like ordinary chocolate sandwich cookies, but that first bite hit me with espresso and cream so rich I had to sit down. She refused to share the recipe for weeks, claiming it was a family secret, until I traded her my grandmother's pie crust method. Worth every flaky detail.
I made these for my sister's birthday last March, and she ate three before anyone else arrived. She kept saying they reminded her of the café we used to sneak into during high school, where we'd split one slice of tiramisu and pretend we were sophisticated. These brought that feeling back without the judgmental waiters.
Ingredients
- All-purpose flour (210 g): Forms the tender crumb that makes these more cake than cookie, so measure it carefully by spooning into the cup and leveling off.
- Unsweetened cocoa powder (55 g): Dutch-process cocoa gives a smoother, less acidic flavor, but natural cocoa works if that's what you have.
- Baking powder and baking soda: The combo creates the perfect puff and chew, so don't skip either or substitute one for the other.
- Unsalted butter (115 g, softened): Let it sit at room temperature until your finger leaves an indent, otherwise the batter won't cream properly.
- Granulated sugar (200 g): Creaming this with butter creates air pockets that keep the cookies soft and light.
- Large egg: Brings structure and moisture, and it should be at room temperature so it blends smoothly without curdling the butter.
- Vanilla extract: Use pure extract, not imitation, because the flavor really shines through the chocolate.
- Whole milk (240 ml): The fat content keeps these cookies from drying out, so don't swap it for skim.
- Mascarpone cheese (225 g, chilled): This Italian cream cheese is the soul of the filling, rich and slightly sweet with none of the tang regular cream cheese has.
- Heavy cream (120 ml, cold): Whips into the mascarpone for a cloud-like texture that holds its shape between the cookies.
- Powdered sugar (60 g, sifted): Sweetens without grittiness, and sifting prevents lumps that ruin the silky filling.
- Instant espresso powder: Dissolves quickly and packs concentrated coffee flavor without adding extra liquid.
- Hot water (1 tablespoon): Just enough to bloom the espresso powder and release its full aroma.
- Cocoa powder for dusting: The final touch that makes these look like they came from a bakery window.
Tired of Takeout? 🥡
Get 10 meals you can make faster than delivery arrives. Seriously.
One email. No spam. Unsubscribe anytime.
Instructions
- Prep Your Oven and Pans:
- Heat the oven to 350°F and line two baking sheets with parchment paper so the cookies release cleanly. Skipping parchment means scraping stuck bottoms later, trust me.
- Mix the Dry Ingredients:
- Whisk together flour, cocoa powder, baking powder, baking soda, and salt in a medium bowl until no streaks remain. This distributes the leaveners evenly so every cookie rises the same.
- Cream Butter and Sugar:
- Beat softened butter and granulated sugar in a large bowl with an electric mixer on medium-high speed for about 3 minutes, until the mixture looks pale and fluffy. Scrape down the sides halfway through so nothing hides at the bottom.
- Add Egg and Vanilla:
- Beat in the egg and vanilla extract until fully incorporated and the batter looks smooth. If it looks slightly curdled, don't panic, it'll come together when you add the dry ingredients.
- Alternate Wet and Dry:
- Add the dry mixture in three additions, alternating with the milk in two additions, starting and ending with the dry ingredients. Mix on low speed just until combined, because overmixing makes tough cookies.
- Scoop and Space:
- Use a medium cookie scoop or tablespoon to drop 24 mounds of batter onto the prepared sheets, leaving about 2 inches between each one. They'll spread slightly but not dramatically, so don't worry about crowding too much.
- Bake Until Springy:
- Bake for 10 to 12 minutes, until the tops spring back lightly when you press them with a fingertip. They'll look slightly underdone in the center, which is exactly what you want for that soft, cakey texture.
- Cool Completely:
- Let the cookies cool on the baking sheets for 5 minutes, then transfer them to a wire rack to cool completely. Filling warm cookies will melt the cream into a puddle.
- Dissolve the Espresso:
- Stir instant espresso powder into hot water in a small bowl until dissolved, then let it cool to room temperature. Hot espresso will break the mascarpone and turn the filling soupy.
- Whip the Filling:
- Beat chilled mascarpone, cold heavy cream, and sifted powdered sugar in a bowl with an electric mixer on medium speed until smooth and thick, about 2 minutes. Stop as soon as it holds soft peaks, because overbeating turns it grainy.
- Flavor the Cream:
- Add the cooled espresso and vanilla extract, then beat just until combined. If the filling looks too soft to spread, chill it in the fridge for 20 minutes until it firms up.
- Assemble the Sandwiches:
- Spread or pipe a generous dollop of filling onto the flat side of 12 cookies, then top each with another cookie, flat side down, pressing gently to spread the filling to the edges. Don't be stingy with the filling, it's the best part.
- Dust and Chill:
- Use a fine sieve to dust the tops with unsweetened cocoa powder, then refrigerate the assembled whoopie pies for at least 30 minutes. This chilling time lets the filling set and the flavors meld together into something magical.
 Pin It
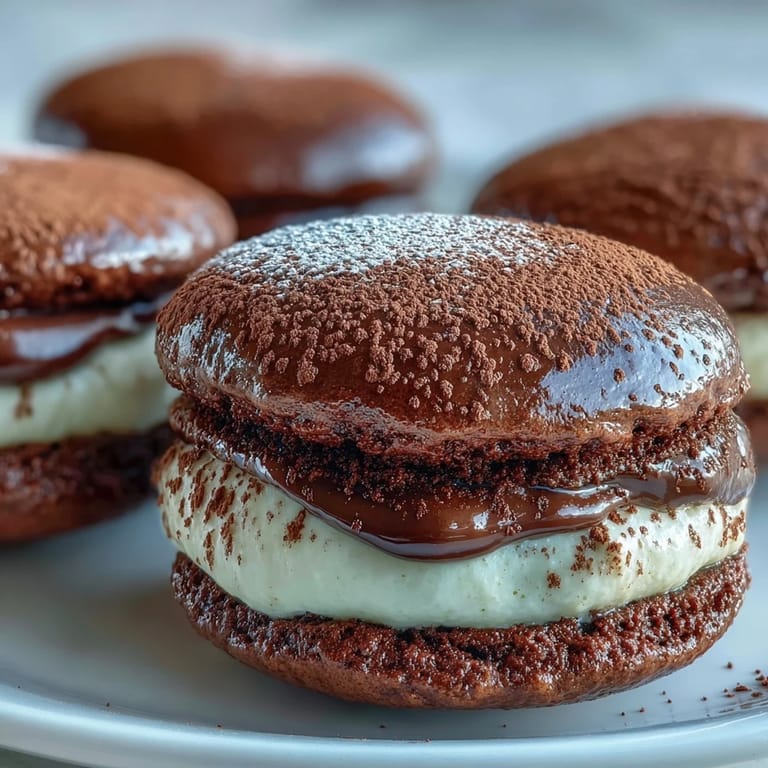
 I brought a batch to my book club last fall, and we ended up talking about dessert for twenty minutes instead of the novel. Someone said they tasted like the best parts of tiramisu without the sogginess, and another person asked if I'd cater her daughter's graduation party. I didn't, but I did make three more batches that month.
Storage and Make-Ahead Tips
These whoopie pies stay fresh in an airtight container in the fridge for up to two days, though the cookies soften slightly as they absorb moisture from the filling. I actually prefer them on day two when the flavors have melted together and the texture turns even more tender. You can bake the cookies a day ahead and store them at room temperature, then make the filling and assemble them the morning you plan to serve them. The filling itself can be made a few hours early and kept chilled, just give it a quick stir before spreading to loosen it up.
Flavor Variations
For a boozy twist that tastes even more like traditional tiramisu, stir a tablespoon of coffee liqueur or dark rum into the filling along with the espresso. My friend swears by adding a teaspoon of orange zest to the cookie batter, which gives a subtle brightness that cuts through the richness. If you want to skip the coffee altogether, replace the espresso with vanilla or almond extract and you'll have a classic chocolate cream whoopie pie. I once folded mini chocolate chips into the filling on a whim, and they added a delightful crunch that my kids devoured.
Serving Suggestions
These whoopie pies shine at brunch alongside strong coffee, or as an elegant dessert plated with fresh berries and a drizzle of chocolate sauce. I've served them on tiered stands at showers and watched people take photos before eating them, which always makes me feel like a professional baker. They also travel well if you layer them between parchment paper in a sturdy container, making them perfect for potlucks or gifts. For a dramatic presentation, dust them with cocoa powder right before serving so the contrast looks sharp and fresh.
- Pair them with espresso or cappuccino to double down on the coffee theme.
- Serve them chilled straight from the fridge for the firmest filling and cleanest bite.
- Store any leftovers in a single layer so the tops don't smudge against each other.
 Pin It
 Every time I make these, someone asks for the recipe, and I'm always happy to share it now that I'm not hoarding it like my neighbor did. They've become my go-to when I want to impress without spending all day in the kitchen.
Recipe FAQs
- → Can I make these ahead of time?
Yes, you can prepare the cookies and filling separately up to a day in advance. Store cookies in an airtight container and keep the filling refrigerated. Assemble them a few hours before serving for best results.
- → What can I substitute for mascarpone cheese?
Cream cheese can be used as a substitute, though it will create a tangier flavor profile. For a closer match, blend equal parts cream cheese and heavy cream until smooth before adding the other filling ingredients.
- → How do I prevent the cookies from spreading too much?
Ensure your butter is softened but not melted, and chill the batter for 15 minutes before scooping if your kitchen is warm. Also, leave adequate spacing between mounds on the baking sheet.
- → Can I use regular coffee instead of espresso powder?
Espresso powder provides concentrated flavor without adding extra liquid. If using brewed coffee, reduce it to 1 tablespoon by simmering, or use very strong coffee and decrease other liquids slightly.
- → How long do these stay fresh?
Store assembled whoopie pies in an airtight container in the refrigerator for up to 2 days. The cookies soften slightly over time as they absorb moisture from the filling, creating a more cake-like texture.
- → Can I freeze these for later?
Yes, freeze unfilled cookies in a freezer-safe container for up to 2 months. Thaw completely before filling. The mascarpone filling does not freeze well due to its dairy content and texture.